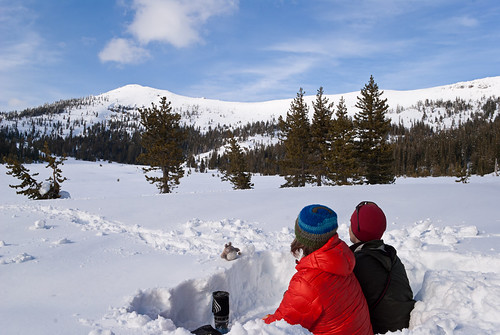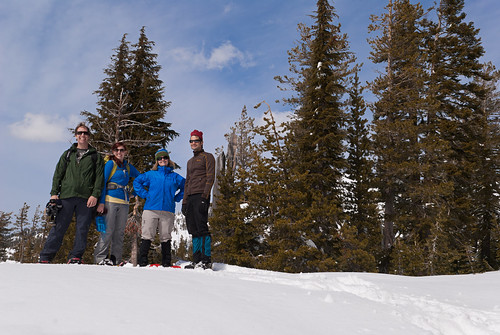
We went out to our usual spot at Castle Peak in Tahoe.
While we were packing up in the parking lot, we ran in to two of our friends who were heading out for a day trip. We were able to spend a gorgeous day with them. At mid-day they headed back to the car, and we set out to find our winter camp spot.
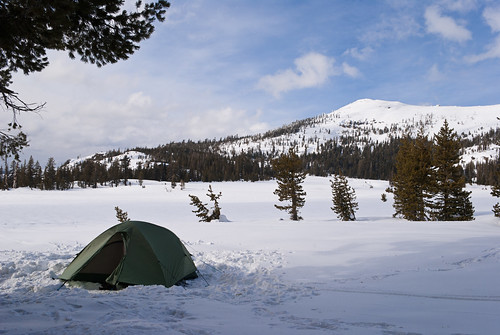
Once we found our spot, we began setting up camp. I learned just how much work camping in the snow can be. You have to trample down the snow to make firm ground for your tent. Then you have to dig trenches for your tent stakes. Then you have to stake everything down again. It is strenuous and tiring, but it feels good to keep moving because the alternative is to freeze.
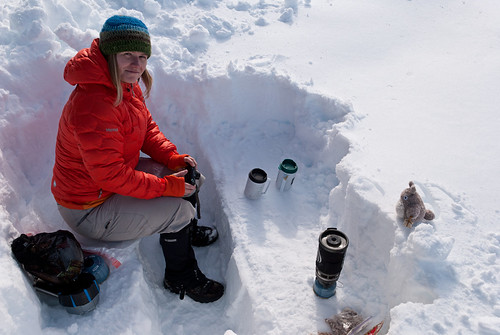
Every time I head out on a camping trip I am reminded by how much free time our creature comforts allow us. Just the day-to-day tasks of feeding, housing, cleaning and keeping yourself safe in the back-country takes a good majority of your time. In between those tasks you get to travel a bit. When I come home, everything seems so effortless, and luxurious. It makes it easy to appreciate what you have.
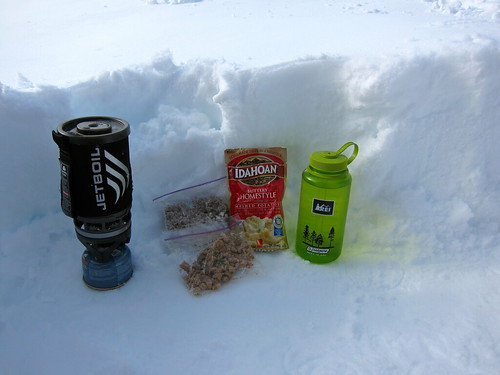
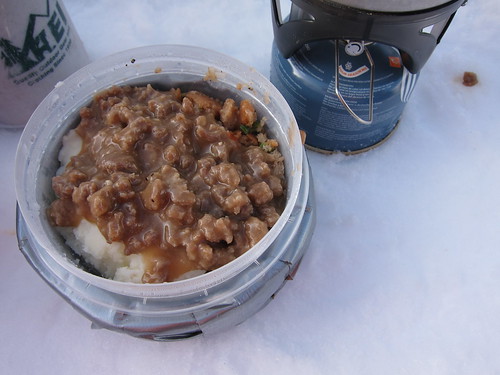
Even though we were camping in the spring, I thought the cold and snow called for comfort food. Something warm and filling like mashed potatoes and gravy. I settled on a trail version of a classic Thanksgiving dinner. Back when we first started backpacking together, I would make something similar but use instant stuffing like stove top, a packet of instant gravy and instant mashed potatoes. We've come a long way in the last ten years!
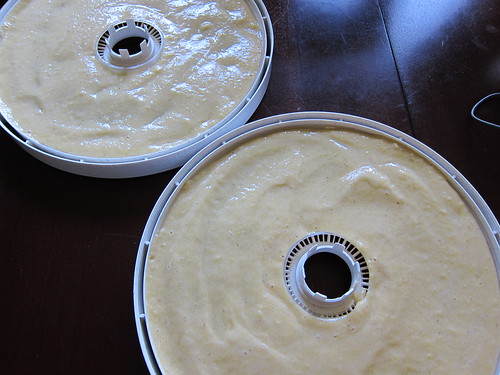
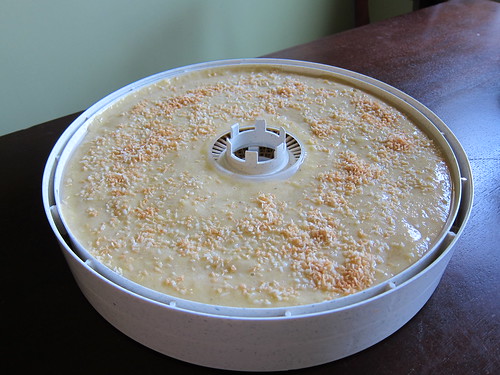
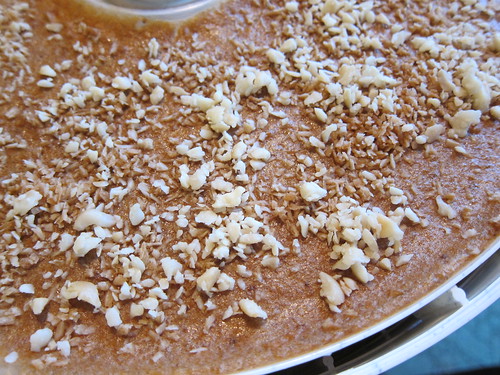
The quantities for the stuffing below make 4 servings. It will last for a few months in an airtight container.
Thanksgiving Dinner - Serves 2
2 cups whole wheat bread crumbs (preferably homemade)
1/4 cup dried mushrooms
1/4 cup dried carrots
1/4 cup dried celery
1/4 cup dried pear or apple (optional)
3 Tbsp dried onion
1 Tbsp chicken bouillon powder
2 tsp dried garlic
2 tsp dried parsley
1 tsp ground sage
1 packet olive oil
1 packet instant mashed potatoes
1/2 lb ground turkey - dehydrated
1 instant gravy packet*
At home:
Put the bread crumbs through sage in a Ziploc bag. Write "1 cup water" on bag with a Sharpie. Put olive oil packet in bag. Set aside.
Put dehydrated turkey and contents of instant gravy packet in separate Ziploc bag. Write "2 cup water" on bag with a Sharpie.
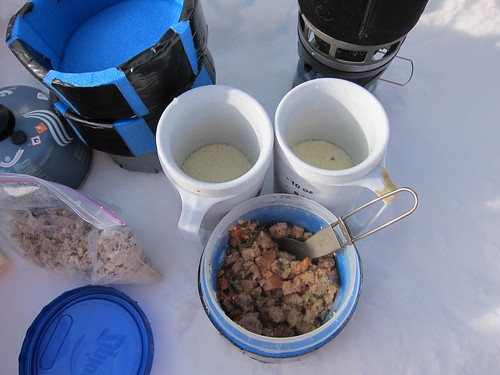
Pack turkey mixture, stuffing mixture and packet of instant potatoes together. You will also need 2 insulated mugs, and two insulated bowls, or three cook pots.
On the trail:
Bring 1 cup of water to a boil. Divide stuffing mix between two insulated bowls. Divide the boiling water between the two containers. Stir both, cover and let sit while you make the potatoes.
Prepare the potatoes according the package directions. Make in the insulated mugs, or one of your cook pots. Note: you will still need to boil more water after this step.
Bring 2 cup of water to a boil. Stir in turkey mixture and simmer for 2 minutes. Turn heat off, cover and let sit for 10 minutes (or until turkey is soft).
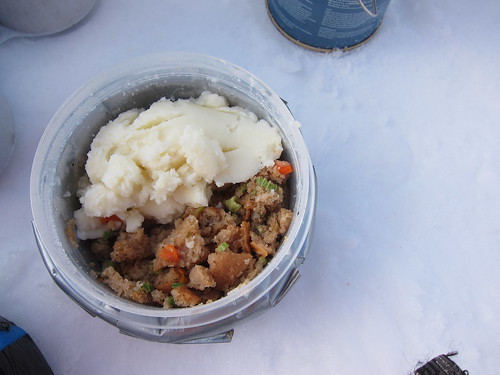
Add your mashed potatoes to your stuffing mix, and pour half of the turkey gravy mixture over the top. Do the same for the other serving and enjoy!
*To skip the instant gravy packet, you can dehydrate your ground meat tossed in 2 Tbsp of flour. Bring along a packet of bouillon or (liquid chicken broth concentrate) too. On the trail, pour the bouillon in the hot water, and stir in the meat. It will reconstitute with a gravy.