I sat in the car as B looked at maps on his iPhone and researched alternate trails. It seemed like such a waste to drive all the way out from the East Bay and then just turn around again and go back. It also seemed like a bad idea to do something that was unfun and unsafe just because I was too pig headed to accept my circumstances.
As I learn more about mountaineering and alpine climbing, I realize that I need to learn when to change my plans. I need to learn when to turn back, go a different way, admit defeat, evaluate, and let go of my expectations. I thought about the quote I read from a guide who had just led a team of Everest, "going up is optional, coming down is mandatory."
As the wind blew outside the car, I thought about the day when I would face having to turn around - possibly after flying half way across the world and climbing 2/3 of a mountain. I would have to be OK with it. Maybe today could be a day I practiced that skill?
"I found a hike we can try," B said.
"Where is it?"
"Mount Tallac. Just a little ways down the road."
It could be more of the same. It was raining. It was windy.
"Ok," I said, "let's go check it out."
As we drove to the new trail-head, I wondered if I was making a mistake. I told myself we should at least check it out, and I promised myself if I felt any twinge of "bad idea" I would tell B we had to turn around. As we pulled in to the snow park lot, the rain stopped. We got out of the car and geared up. We decided to follow one of the cross country ski trails and use the markers would keep us on route.
We got about 15 minutes out and the sun broke through the clouds. I went to put my sunglasses on. I had left them in the car. This sucked. I did not want to have to go back, it looked like we were really going to get a trek in despite our late start, and I really wanted to have a new blog post.
"I don't need them."
"Yes you do. We are going back."
"Uhg. Ok."
We headed back to the car, got my sunglasses and then, as we started off again, noticed a nice snowshoe track heading the opposite direction we had originally chosen. We decided to follow that trail instead. It turned out to be the best change of plans we had made in a long time. We found a new training hike for our summer mountaineering class, a new snowshoe route to share with our friends, and I got to test a new recipe out in the wild.
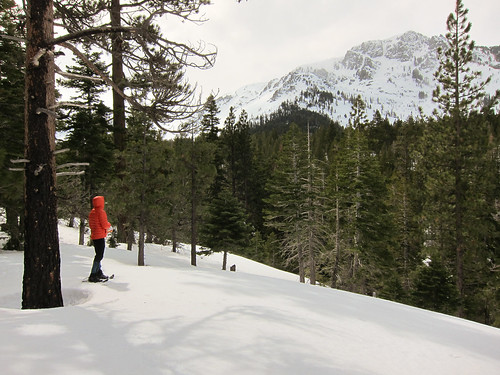
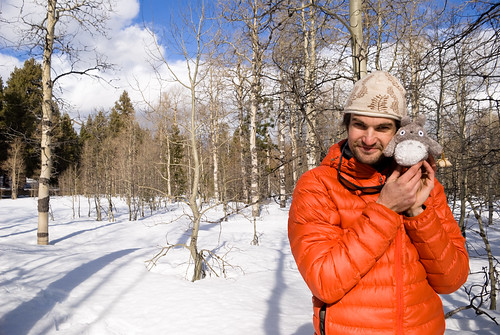
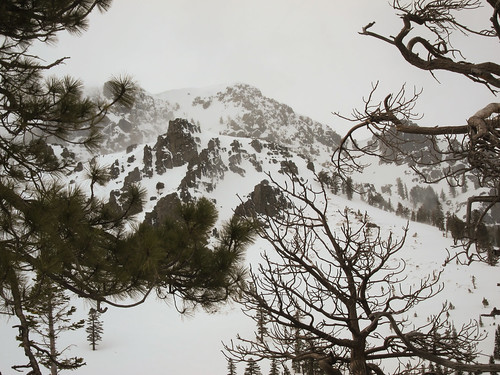
We ended up hiking the trail to Mt. Tallac. Even though the wind blew, the weather was warm, and we had some beautiful views when the clouds cleared.
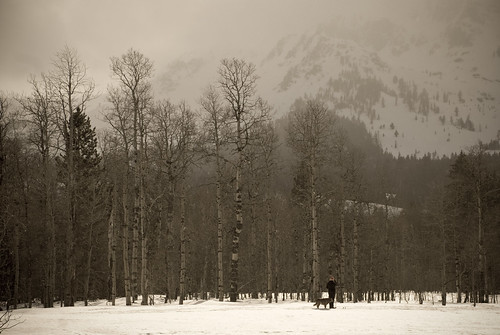
The wind blew too hard along the ridge for us to sit and take a break. We ate snacks quickly on our feet and kept moving. I decided we could test the stew recipe on our way back to the car, back down in the aspen groves.
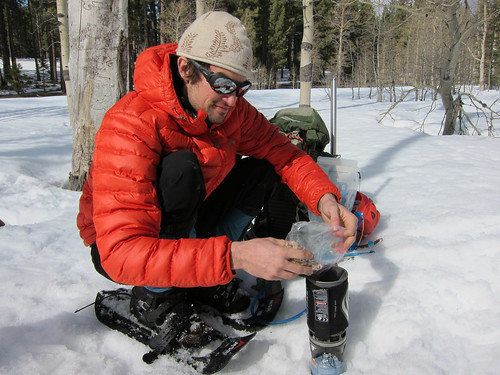
We got back to the groves around 2:30pm. It was the first time we had sat down all day, and it felt good to be out of the wind.
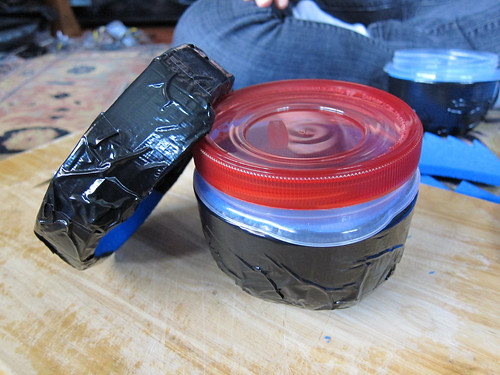
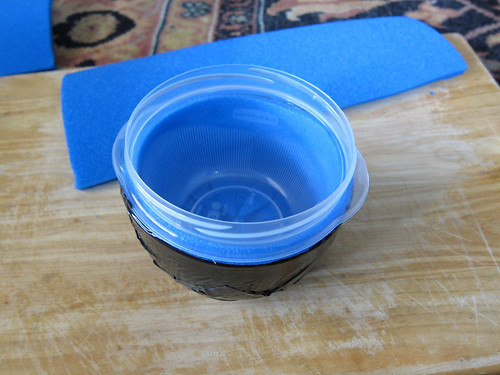
B started up the JetBoil and I took the insulated camp bowl and stew mix out of my pack. B poured the stew in the boiling water.
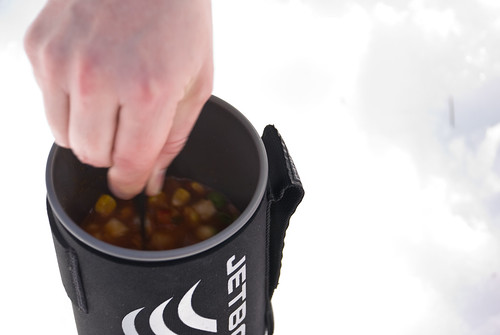
I stirred it for two minutes while it boiled.
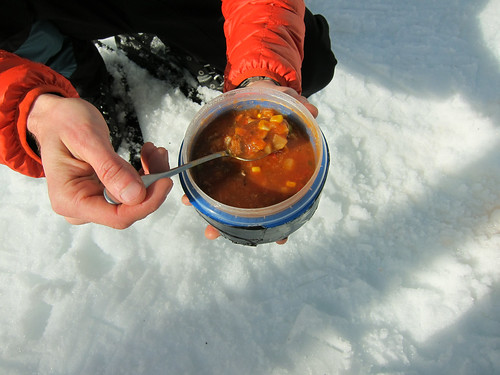
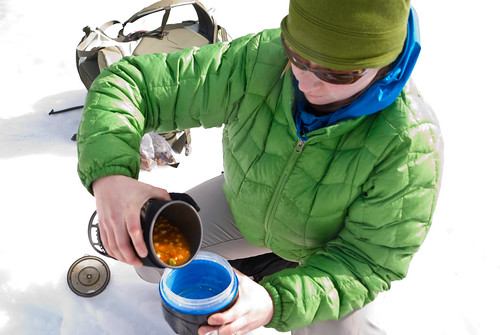
I poured the stew into our insulated camp bowl, then we let it sit for about five minutes.
B took the first bite. "How is it," I said.
"It is a keeper." B said, as he ate a few more bites. I had a few too.
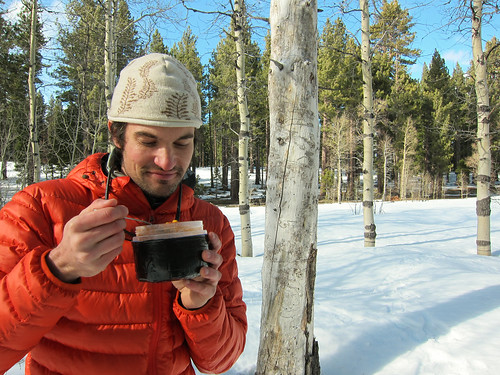
The warm hot stew tasted so good after being in the wind all day. It warmed our hands, and our bellies. We both felt revived, and I felt a little redeemed. For what I am not sure, maybe for staying flexible all day? I had been willing to keep changing my expectations - and somehow it felt like I had been rewarded for the effort. Hopefully you can enjoy this recipe under less trying circumstances.
This recipe was a long time in the making. It requires that you make a leather out of a homemade stew base and dehydrate some vegetables in advance.
Beef and Vegetable Stew - Serves 1
1/4 cup freeze dried roast beef
1/4 cup freeze dried potato dices
1/4 cup dehydrated veggie mix*
1/4 dehydrated Homemade Stew Leather
1/2 Tbsp beef bouillon
1 tsp dried oregano
1 1/2 cup boiling water
At home:
Put all ingredients in a Ziploc bag. Write 1 1/2 H2O on the bag with a Sharpie.
On the trail:
Boil 1 1/2 cups of water in a pot or JetBoil. When the water begins to boil, stir in the stew mix. Let the stew boil for two minutes, stirring the entire time. The stew will thicken as it boils. After two minutes, pour the stew into an insulated mug or camp bowl. Cover and let sit for 5 minutes. Check the consistency. If veggies are still a bit stiff, put the lid back on and let sit for another 3 minutes. Add salt & pepper to taste. Enjoy!
*If you don't have time to dehydrate the vegetables, you can buy Just Veggies instead.